HPP for Google Pay
Workflow
When using Google Pay in a hosted payment page, the workflow is as follows:
- The customer navigates to the merchant's payment/checkout page.
- While loading the checkout page, the merchant sends an Initialize request.
- The API returns an Initialize response with information for Google Pay.
- The merchant loads information from the Initialize response into the page’s HTML during page load.
- When the customer selects the Google Pay button, Google sends payment data to the merchant.
- The merchant uses the received payment data to send an Authorize request.
- The API returns a successful Authorize response, which confirms the success of the payment.
Integration
Complete the following steps to add Google Pay to your HPP.
1. Send an Initialize request to the CellPoint Digital API
Endpoint: /mpoint/initialize-payment
Method: POST
Once the page has loaded, send a POST request to the /mpoint/initialize-payment endpoint of the CellPoint Digital API. For more information, see Initialize Payment in the API Reference section of this site.
The code below is an example Initialize Payment request body:
<?xml version="1.0" encoding="UTF-8"?>
<root>
	<initialize-payment account="[integer]" client-id="[integer]">
		<transaction order-no="CPM1601976034055" type-id="[integer]" >
			<amount currency-id="[integer]" countryid="[integer]">100</amount>
		</transaction>
		<client-info language="en" app-version="1.43" sdk-version="1.43" version="1.43" platform="HTML5">
			<mobile operator-id="[integer]" country-id="200">[mobile number]</mobile>
			<email>[email]</email>
			<customer-ref>[customer-ref]</customer-ref>
		</client-info>
	</initialize-payment>
</root>
The response includes Google Pay wallet information in the <wallets> element with the content of the <name> element set to Google Pay, as shown in the example below:
<wallets>
<card cvc-length="-1" cvcmandatory="false" dcc="false" enabled="true" id="41" installment="0" max-length="-1" min-length="-1" payment-type="3" preferred="false" presentment-currency="false" processor-type="3" psp-id="-1" state-id="1" type-id="41">
<name>Google Pay</name>
<prefixes>
<prefix id="200">
<min>-1</min>
<max>-1</max>
</prefix>
<prefix id="202">
<min>-1</min>
<max>-1</max>
</prefix>
</prefixes>
<url method="overlay" />
<head><script>var baseRequest={apiVersion: 2, apiVersionMinor: 0 };var allowedCardAuthMethods=['PAN_ONLY','CRYPTOGRAM_3DS'];var allowedCardNetworks=['MASTERCARD','DISCOVER','AMEX','VISA'];var assuranceDetailsRequired=true;var tokenizationSpecification={type:'PAYMENT_GATEWAY',parameters:{'gateway':'cellpointmobile','gatewayMerchantId':'10106'}};var baseCardPaymentMethod={type:'CARD',parameters:{allowedAuthMethods:allowedCardAuthMethods,allowedCardNetworks:allowedCardNetworks,assuranceDetailsRequired:assuranceDetailsRequired}};var cardPaymentMethod=Object.assign({},baseCardPaymentMethod,{tokenizationSpecification:tokenizationSpecification});let paymentsClient=null;function getGoogleIsReadyToPayRequest(){return Object.assign({},baseRequest,{allowedPaymentMethods:[baseCardPaymentMethod]})} function getGooglePaymentDataRequest(){var paymentDataRequest=Object.assign({},baseRequest);paymentDataRequest.allowedPaymentMethods=[cardPaymentMethod];paymentDataRequest.transactionInfo=getGoogleTransactionInfo();paymentDataRequest.merchantInfo={ merchantName:'Virgin Holidays'};return paymentDataRequest} function getGooglePaymentsClient(){if(paymentsClient===null){return(new google.payments.api.PaymentsClient({environment:'TEST'}));}} function getGoogleTransactionInfo(){return{countryCode:'GB',currencyCode:'USD',totalPriceStatus:'FINAL',totalPrice:'152.00'}}</head>
<body><script async="true" src="https://storage.googleapis.com/bkt-cp-sit-ehpp2/10106/js/googlepay.js"></script> <script async="true" src="https://pay.google.com/gp/p/js/pay.js"></script></body>
<auth-token>Auth-Token</auth-token>Google Pay
</card>
</wallets>
{
    "cvc_length": "-1",
    "cvcmandatory": "false",
    "dcc": "false",
    "enabled": "true",
    "id": "41",
    "installment": "0",
    "max_length": "-1",
    "min_length": "-1",
    "payment_type": "3",
    "preferred": "false",
    "presentment_currency": "false",
    "processor_type": "3",
    "psp_id": "-1",
    "state_id": "1",
    "type_id": "41",
    "name": "Google Pay",
    "prefixes": {
        "prefix": [
            {
                "id": "200",
                "min": "-1",
                "max": "-1"
            },
            {
                "id": "202",
                "min": "-1",
                "max": "-1"
            }
        ]
    },
    "url": {
        "method": "overlay"
    },
    "head": "<script>var baseRequest={apiVersion: 2, apiVersionMinor: 0 };var allowedCardAuthMethods=[\"PAN_ONLY\",\"CRYPTOGRAM_3DS\"];var allowedCardNetworks=[\"MASTERCARD\",\"DISCOVER\",\"AMEX\",\"VISA\"];var assuranceDetailsRequired=true;var tokenizationSpecification={type:\"PAYMENT_GATEWAY\",parameters:{\"gateway\":\"cellpointmobile\",\"gatewayMerchantId\":\"10106\"}};var baseCardPaymentMethod={type:\"CARD\",parameters:{allowedAuthMethods:allowedCardAuthMethods,allowedCardNetworks:allowedCardNetworks,assuranceDetailsRequired:assuranceDetailsRequired}};var cardPaymentMethod=Object.assign({},baseCardPaymentMethod,{tokenizationSpecification:tokenizationSpecification});let paymentsClient=null;function getGoogleIsReadyToPayRequest(){return Object.assign({},baseRequest,{allowedPaymentMethods:[baseCardPaymentMethod]})} function getGooglePaymentDataRequest(){var paymentDataRequest=Object.assign({},baseRequest);paymentDataRequest.allowedPaymentMethods=[cardPaymentMethod];paymentDataRequest.transactionInfo=getGoogleTransactionInfo();paymentDataRequest.merchantInfo={ merchantName:\"Virgin Holidays\"};return paymentDataRequest} function getGooglePaymentsClient(){if(paymentsClient===null){return(new google.payments.api.PaymentsClient({environment:\"TEST\"}));}} function getGoogleTransactionInfo(){return{countryCode:\"GB\",currencyCode:\"USD\",totalPriceStatus:\"FINAL\",totalPrice:\"152.00\"}}",
    "body": "<script async='true' src='https://storage.googleapis.com/bkt-cp-sit-ehpp2/10106/js/googlepay.js'></script> <script async='true' src='https://pay.google.com/gp/p/js/pay.js'></script>",
    "auth_token": "Auth-Token",
    "text": "Google Pay"
}
2. Add the initialization information to your page
Parse the Initialize Payment response and capture the content of the <head> and <body> elements, which contain the scripts you will use to send transaction data to CellPoint Digital.
Add the scripts to the <head> and <body> elements of your website, as shown in the example below:
<!DOCTYPE html>
<html lang="en">
  <head>
    <script>var baseRequest={apiVersion: 2, apiVersionMinor: 0 };var allowedCardAuthMethods=['PAN_ONLY','CRYPTOGRAM_3DS'];var allowedCardNetworks=['MASTERCARD','DISCOVER','AMEX','VISA'];var assuranceDetailsRequired=true;var tokenizationSpecification={type:'PAYMENT_GATEWAY',parameters:{'gateway':'cellpointmobile','gatewayMerchantId':'10106'}};var baseCardPaymentMethod={type:'CARD',parameters:{allowedAuthMethods:allowedCardAuthMethods,allowedCardNetworks:allowedCardNetworks,assuranceDetailsRequired:assuranceDetailsRequired}};var cardPaymentMethod=Object.assign({},baseCardPaymentMethod,{tokenizationSpecification:tokenizationSpecification});let paymentsClient=null;function getGoogleIsReadyToPayRequest(){return Object.assign({},baseRequest,{allowedPaymentMethods:[baseCardPaymentMethod]})} function getGooglePaymentDataRequest(){var paymentDataRequest=Object.assign({},baseRequest);paymentDataRequest.allowedPaymentMethods=[cardPaymentMethod];paymentDataRequest.transactionInfo=getGoogleTransactionInfo();paymentDataRequest.merchantInfo={ merchantName:'Virgin Holidays'};return paymentDataRequest} function getGooglePaymentsClient(){if(paymentsClient===null){return(new google.payments.api.PaymentsClient({environment:'TEST'}));}} function getGoogleTransactionInfo(){return{countryCode:'GB',currencyCode:'USD',totalPriceStatus:'FINAL',totalPrice:'152.00'}}</script>
  </head>
  <body>
    <script async="true" src="https://pay.google.com/gp/p/js/pay.js"></script>
    <script async="true" src="https://storage.googleapis.com/bkt-cp-sit-ehpp2/10106/js/googlepay.js"></script>
  </body>
</html>
The script in the <head> element sets certain options relevant to your Google Pay configuration. You will call functions from the two scripts in the body to send transaction data.
3. Add the Google Pay button to your page
3a. Add a <div> container for the Google Pay button and assign it an id
<div> container for the Google Pay button and assign it an idTo display a Google Pay button on your page, add <div id=gpay-container-id /> to the page’s HTML. Assign a value to the id attribute of the <div> element. You will reference the id value in subsequent steps.
3b. Create an addGooglePayButton function
addGooglePayButton functionWrite a function that configures the Google Pay button. The addGooglePayButton() function must accept the button container ID (gpay-container-id) and the name of your paymentCallback function as parameters, as shown in the example below:
function addGooglePayButton (gpay-container-id, paymentCallback) {
	const paymentsClient = getGooglePaymentsClient();
	const button =
		paymentsClient.createButton({
		buttonColor: 'default',
		buttonType: 'buy',
		onClick: () => onGooglePaymentButtonClicked(paymentCallback) });
	container.appendChild(button);
}
The addGooglePayButton() function should perform the following actions:
- Call the
getGooglePaymentsClient()function. - Set the values of these
createButtonproperties:buttonColorandbuttonType. - Use the
onClick()event to call the theonGooglePaymentButtonClicked()function with the name of yourpaymentCallbackfunction as a parameter. TheonGooglePaymentButtonClicked()function is part of the CellPoint Digital Google Pay Javascript library, which you included in step 2.
The paymentCallback function accepts four parameters: paymentToken, paymentNetwork, preauthenticated, and billingAddress. CellPoint Digital will call the paymentCallback function to send you transaction details that CellPoint Digital receives from Google. See step 4 for details.
3c. Call the addGooglePayButton function
addGooglePayButton functionOn the onLoad event, call the addGooglePayButton() function with gpay-container-id and the name of your callback function as parameter, as shown in the sample code below:
<body>
  <div id={gpay-container-id} /}>
    <script>
    	function onLoad{window.addGooglePayButton(gpay-container-id, paymentCallback )}
    </script>
</body>
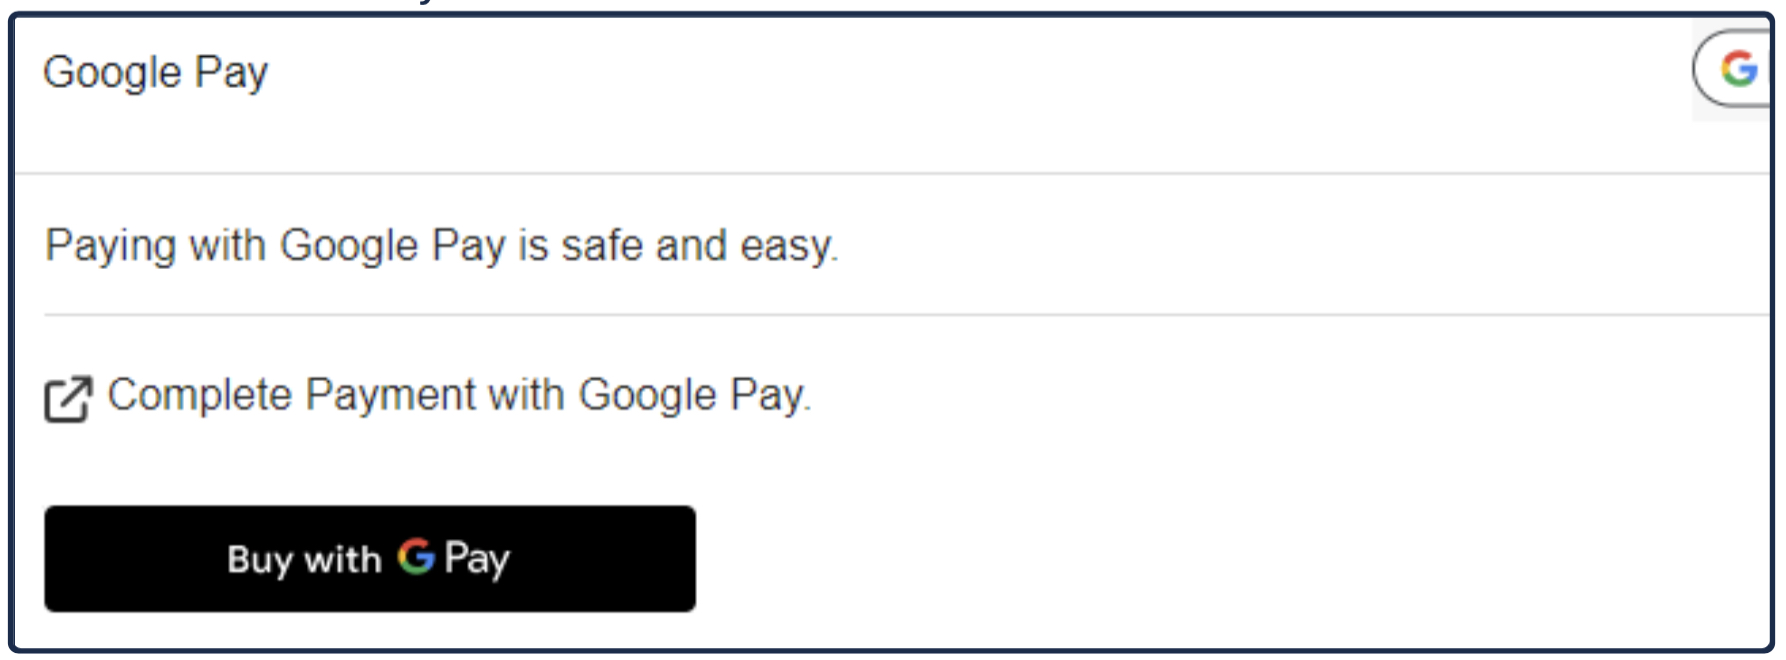
Calling addGooglePayButton() adds a functioning Google Pay button to your page as shown below:
4. Send an Authorize request to the CellPoint Digital API
Endpoint: /mpoint/authorize-payment
Method: POST
When the customer clicks the Google Pay button, the application calls the function onGooglePaymentButtonClicked(), and CellPoint Digital returns Google Pay data to the paymentCallback() function that you specified previously.
Write a paymentCallback() function that sends a POST request to the /mpoint/authorize-payment endpoint of the CellPoint Digital API with the paymentToken, paymentNetwork, preauthenticated, and billingAddress data in the body of the request. Below is an example of what this might look like:
function paymentCallback(paymentToken, paymentNetwork, preauthenticated, billingAddress) {
    const url = "https://your-api.com/authorize";

    const data = {
        cardtypeid: "GPAY_WALLET",
        token: paymentToken,
        network: paymentNetwork.toLowerCase(),
        preauthenticated: String(preauthenticated).toLowerCase(),
        billingInfo: billingAddress || ""
    };

    fetch(url, {
        method: 'POST',
        headers: {
            'Content-Type': 'application/json',
        },
        body: JSON.stringify(data)
    })
    .then(response => response.json())
    .then(data => {
        console.log('Payment Authorization Successful:', data);
    })
    .catch(error => {
        console.error('Error:', error);
    });
}
The example below shows a sample body of an Authorize request:
<?xml version="1.0" encoding="UTF-8"?>
<root>
	<authorize-payment account="[integer]" client-id="[integer]">
		<transaction type-id="[integer]" id="[integer]" store-card="false"  >
			<card  type-id="41" network="visa">
				<amount country-id="[integer]" currency-id="[integer]" >100</amount>
				<token>eyJzaWduYXR1cmUiOiJNRVlDSVFEK1BndVJMeWYrZTRsOGp3UW9DWUwza1pyN0NNZ3dnaDZYdmRHQmtWYnNMd0loQUt6ZkdrZm1kc3NmaVY3b1BuSzU4Rk94c0JBNTVNQVRVbDB2ODZqcDR3QnYiLCJwcm90b2NvbFZlcnNpb24iOiJFQ3YxIiwic2lnbmVkTWVzc2FnZSI6IntcImVuY3J5cHRlZE1lc3NhZ2VcIjpcImdaalpLZzdwdjcxOTM5V3htZEZDRmpPRDU3QlVuZWV5TGJJdUFvOTQxcXBFNFE4SEZoQTNyNzF4RUpyQnFvU2hQUS9KcUlFdW9KSThUU2ExWGF2RE1TK3dpSURTcTg4cG9QcjlFVDBqSWQ2Ukl5b0xYQlVzMTZNYkM5cmljdU9rdGY3NGRTNDJpd2YyZHY3QkhTQmZhUDdkK1laU2V0Y0F1Y2FicmY5RWliam8wUVN4YndKVHdodjlNK0dUK3lXUlZpdFNlbE80L1JZYUkvUWxkUGtINGZISmUzalorSEpnS0RMQ0NOSmtZaXR0SHNUak5mSy9LdThHeCtEM3pTT1ZuUmF3YVd5SFVkdkFHVW90aFJWUG1VSlhpWHZFZVYveTZZaUNzZzJKVlF4b1dzOWNYWitGNTFnUGpUSGY4WFhib3FpMmNnSXBMM3ZVRW1DTjU5TFV4Uzh0MVMzQThzRHhVUU5nQUttUzNWUmlVZnVmQXNHYW5GZnlQcnNtK0w0cVV4eTF0ajdXZjBoc0ZlcHF2NWNMbkpMNEZhSmpxNzFsMkpBNTZwRXhPcFdmR2MyMkFRc2hldk9YOHNrcDM3RmxcIixcImVwaGVtZXJhbFB1YmxpY0tleVwiOlwiQkw0amJqallWalRSdHNySnpLRWR0TUwvajNEalNiZm9JUGhxOGdGRGdkY05HclUzcHViMUg3YXVkZURMV0g2TVJJUFgrT2lybzJ0eUZiMkRwWWpyZ3FjXFx1MDAzZFwiLFwidGFnXCI6XCJocFVyaXN0TkpsTkhITDJxUkdVRm5kQmFsaVdzMVpKemc5RitiMFpEbW8wXFx1MDAzZFwifSJ9</token>
				<pre_authenticated>false</pre_authenticated>
			</card>
			<hmac>ab600de0561ffb023c94e17a7758d4bf3e936fc0104d27c13c31ccf2bba85a78202df3bd5b1160adb3b7bdfd2a2e0b2fad602a8a3272dbb8417d506ac8e82739</hmac>
		</transaction>
		<auth-token>success</auth-token>
		<client-info language="en" sdk-version="1.43" version="1.43" platform="HTML5" profileid="[profile-id]" >
			<mobile operator-id="[integer]" country-id="[integer]">[mobile-number]</mobile>
			<email>[email]</email>
			<customer-ref>[customer-ref]</customer-ref>
			<ip>223.233.86.236</ip>
		</client-info>
	</authorize-payment>
</root>
See Authorize Payment in the API Reference section of this site for more information about this request.
5. Confirm success
You can confirm the Google Pay payment was successful when you receive a successful Authorize response.
The example below shows a success response for an Authorize request to the CellPoint Digital API:
<?xml version="1.0" encoding="UTF-8"?>
<root>
	<status code="2000" sub-code="2000101">Payment authorized</status>
</root>
See Authorize Payment in the API Reference section of this site for more information about this response.
Updated 6 days ago